Good Contents Are Everywhere, But Here, We Deliver The Best of The Best.Please Hold on!
Database Management Services, Oracle Exadata, Oracle Exadata X8M, Remote Database Management

If you are looking for highest levels of database performance for your Oracle database then, Oracle Exadata is an outstanding solution. It delivers finest performance for mixed data, data warehousing (DW), analytics, and OLTP (online transaction processing) workloads. Enriched with a variety of deployment options, it lets you run your Oracle Database and other data workloads anywhere you need, whether its on-premises or in the Oracle Cloud. Oracle Exadata storage provides a cutting-edge technology which is simple to use, manage and provides mission-critical accessibility and reliability. Here are 5 reasons stating why should you run the Oracle Database on Oracle Exadata.


5 Reasons Why you Should Run Your Oracle Database on Oracle Exadata | Netsoftmate


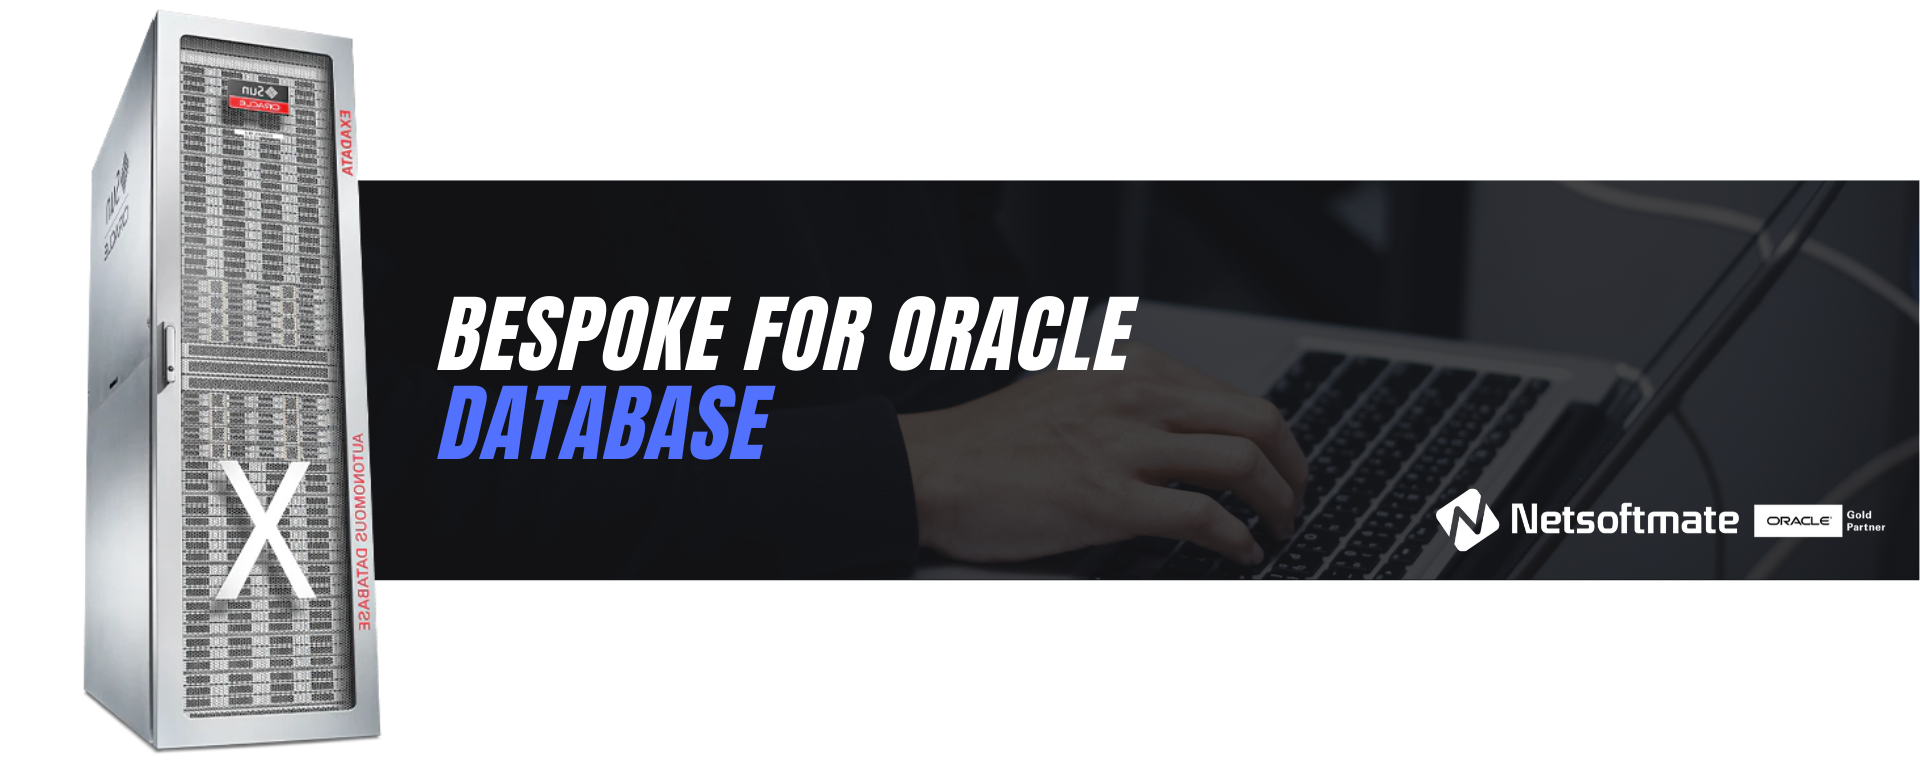
1. Bespoke for Oracle Database


Following a standard approach to build your database infrastructure will hamper your business growth. With time, databases grow, which means, your business needs more servers, more storage solutions and more labor to manage it. As a result, the management cost will go up and there is a huge exposure to risk of errors, ultimately hampering your business growth. That’s why each business, big or small, needs a new approach that’s engineered to cater the critical database workloads.
The only technique to handle these critical database workloads is through Oracle Exadata. It is specially equipped to provide high storage bandwidth to seamlessly manage the Oracle Database and other data workloads. Oracle Exadata, as a part of Oracle Engineered System offers a highly integrated platform that delivers more power with less hardware. It eliminates the IT complexity while supplying greater performance, scalability, security and data protection.


5 Reasons Why you Should Run Your Oracle Database on Oracle Exadata | Netsoftmate


2. Increase Employee Productivity


Timely delivery of persuasive data that supports business operations and lessens the time required to deliver new business applications will surely result in better revenue. Oracle Exadata’s congregated and optimized infrastructure platform for database workloads helps the IT staff to spend less time on everyday operations and work more towards other IT development efforts. Accidental outages have less effect on employees and business operations that have lesser database related failures.
The consolidated Oracle Exadata platform provides an economical base for Oracle database operations. It increases employee productivity and helps grow revenues with less cost and complexity. With an enhanced performance up to 100X faster, accessing the data becomes easy and you can engage with customers quickly. With the same power, you can consolidate your databases onto a single platform, and deliver more than four times the density


5 Reasons Why you Should Run Your Oracle Database on Oracle Exadata | Netsoftmate


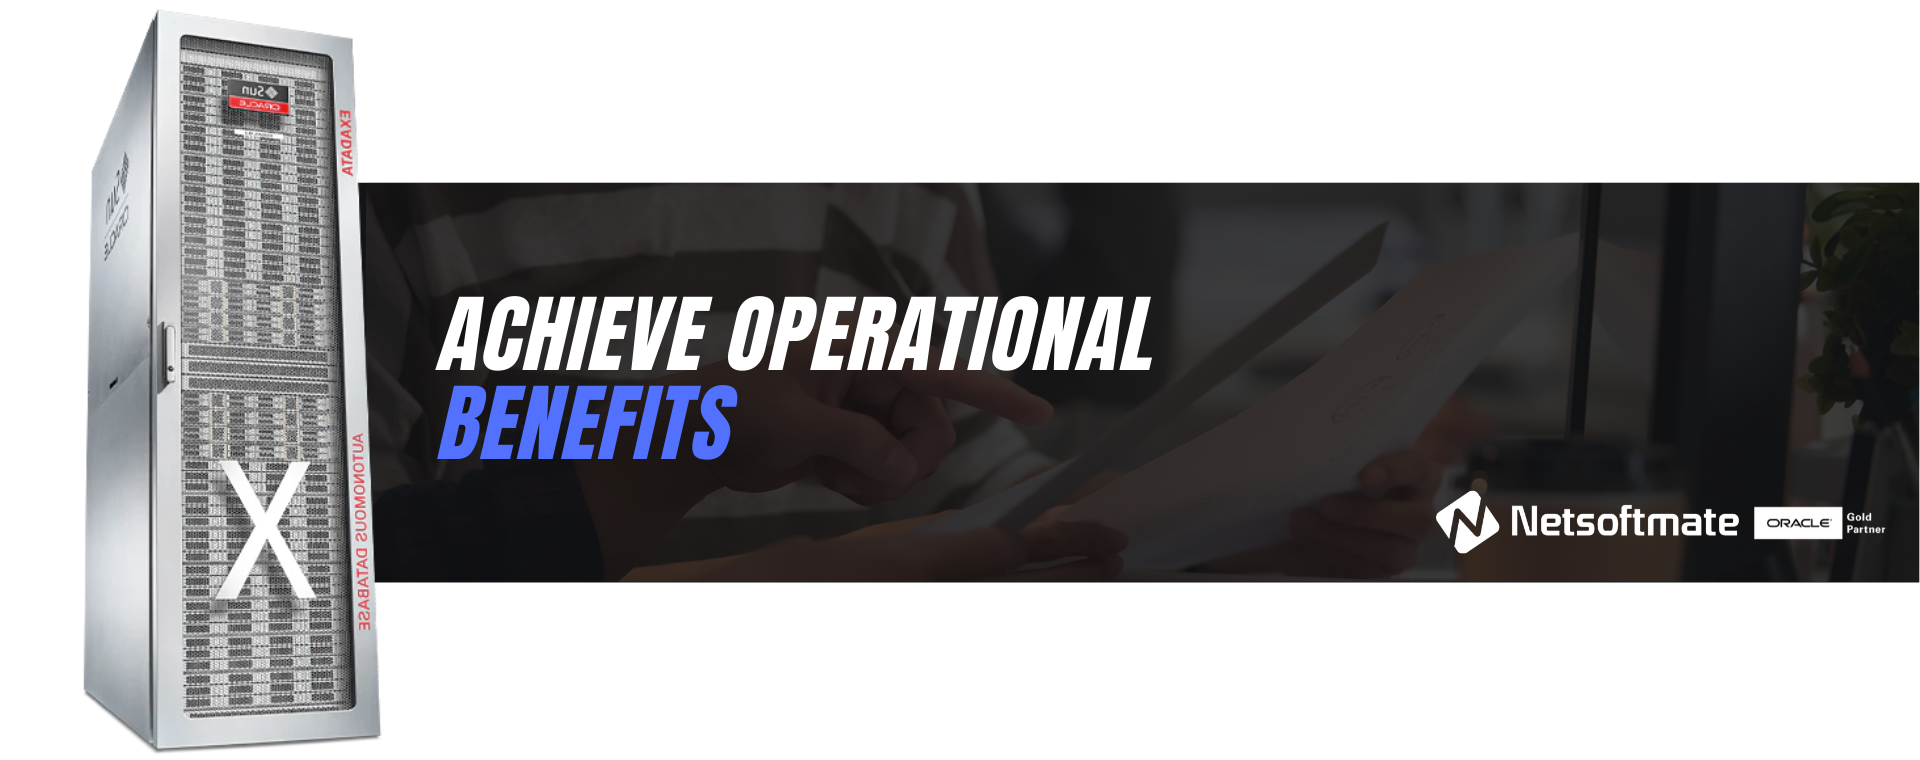
3. Achieve Operational Benefits


Businesses that rely on multiple vendors may face problems in managing a complex database infrastructure. Retaining and managing each database and server overstrains IT staff, and establishing new applications can take longer than usual. You may also need IT specialists to take care of each different component. As the number of applications and their associated databases increases, your admin costs go up, and so will your data center footprint.
Oracle Exadata delivers greater database and application performance with less hardware—and fewer licenses. Oracle Exadata, from Oracle Engineered Systems means easier upgrades, tuning, patching, observing and support, so you can manage your costs. They process transactions faster, complete queries in less time, and have decreased load and backup recovery times.


5 Reasons Why you Should Run Your Oracle Database on Oracle Exadata | Netsoftmate


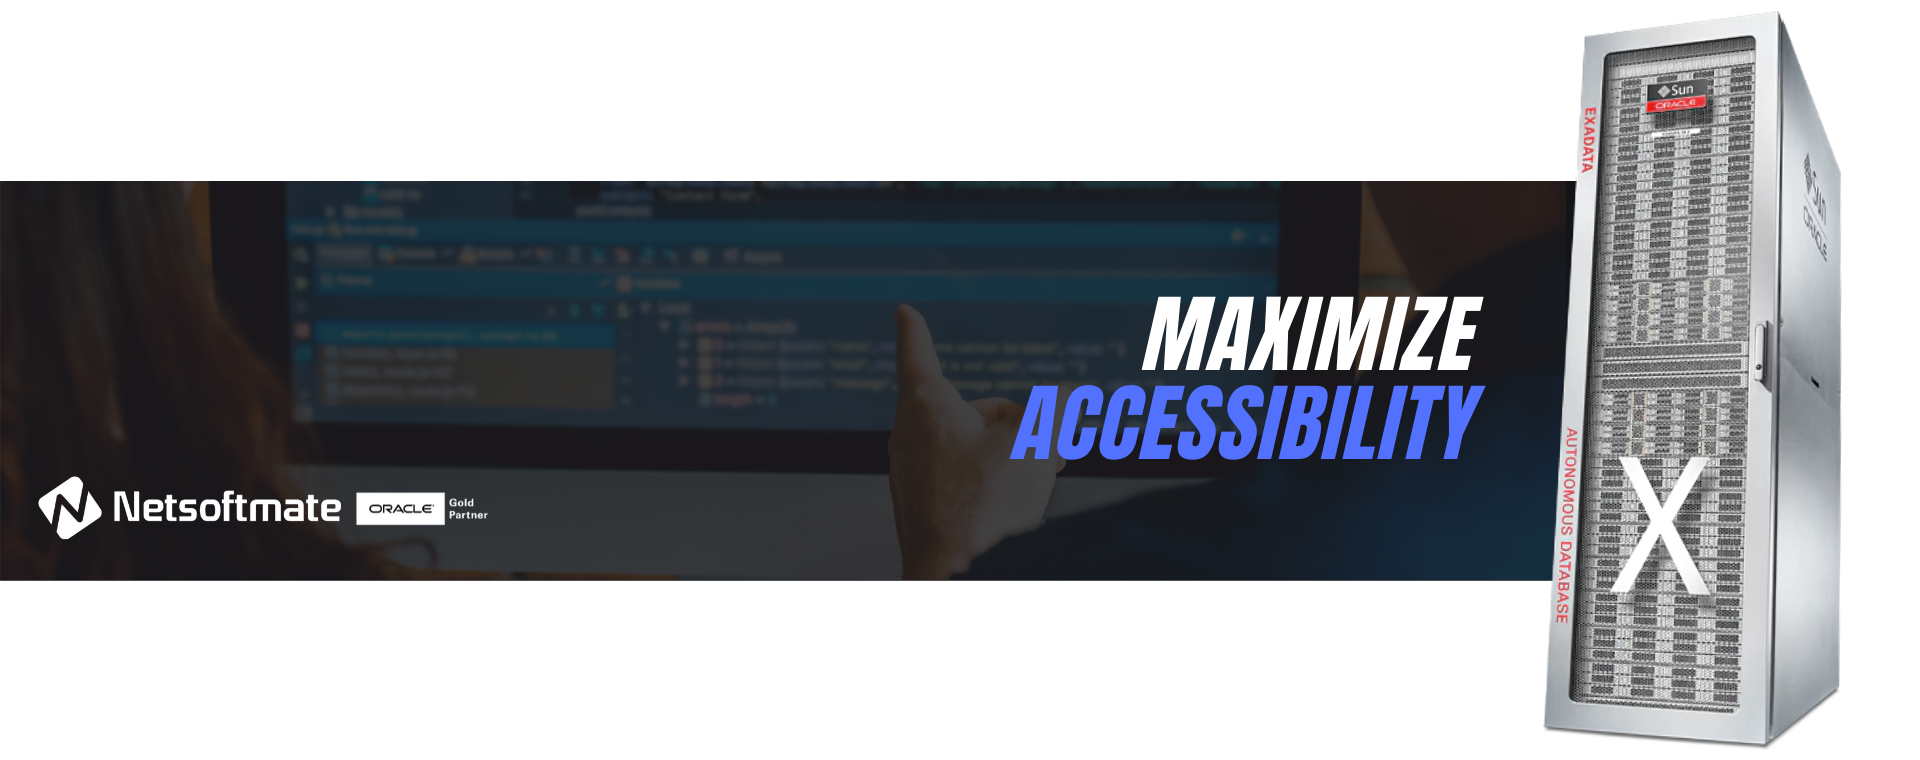
4. Maximize Accessibility


Positive data security and database uptime are critical components that directly impact the business operations and revenue progress. Database collapse makes it tough to establish dependable security, plan and policies for sensitive data. There are too many points of control to monitor and maintain. A larger base is vulnerable to attack and there’s hardly enough budget for the specialist skills vital to manage it.
That’s the reason; businesses use Oracle Exadata to run their most important Oracle database and other data workloads. With software and hardware operational together, Oracle Exadata eliminates system downtime, using its in-built flexibility and redundancy. With Oracle Maximum Availability Architecture, you can get the ultimate in invincible uptime. The benefits include, less business impact from outages, less IT impact in managing downtime and reliable application and developer productivity.


5 Reasons Why you Should Run Your Oracle Database on Oracle Exadata | Netsoftmate


5. Invest in the Cloud


Businesses always plan for a simple and comprehensive cloud strategy and application. Ideally, businesses strategize to invest in an architecture offering an apt pathway to a cloud consumption model for the future. A full-proof plan that is flexible to mix and match on-premises deployment with a well-matched public cloud option, whether that’s for development, improvement and testing or ensuring business endurance.
Oracle Exadata offers the best of both worlds for the database and the business. Businesses can either purchase and manage on-premises Oracle Exadata or choose an Oracle Database Cloud Exadata Service. Oracle Cloud service is equivalent to an on-premises Oracle Exadata, just with a different consumption model. That’s why all the components of Oracle Engineered System are a powerful set of options. They are designed with the same architecture, with all the same benefits. All you need to do is choose which consumption model works best for you.


About Netsoftmate Technologies Inc.

Netsoftmate is an Oracle Gold Partner and a boutique IT services company specializing in installation, implementation and 24/7 support for Oracle Engineered Systems like Oracle Exadata, Oracle Database Appliance, Oracle ZDLRA, Oracle ZFS Storage and Oracle Private Cloud Appliance. Apart from OES, we have specialized teams of  experts providing round the clock remote database administration support for any type of database and cyber security compliance and auditing services.


Feel free to get in touch with us by signing up on the link below –


Priority Suport for Oracle Engineered Systems | Netsoftmate
0

Database Management Services, Oracle Databases, Oracle Exadata, Oracle Exadata X8M

Oracle has provided the verify_roce_cables.py to verify if the rack is cabled correctly for Transport Layer systems based on a RDMA over Converged Ethernet (RoCE) Network Layer network on Exadata Database Machine X8M-2/X8M-8 and later hardware.


Here is the step by step procedure to verify RoCE cabling on Oracle Exadata X8M Database Machine.


Exadata Infrastrure details:


Exadata Model : Exadata X8M-2 half rack

Exadata Software version: 19.3.3.0.0


Step 1: Download 30323660 for your Exadata smart software. In my case I have downloaded it for 19.3.3


Step 2: Copy the patch to staging area and unzip


[root@dm01db01 ~]# cd /u01/app/oracle/software


[root@dm01db01 software]# ls -l

total 8

-rw-r–r– 1 root root 8143 Feb 10 08:12 p30323660_193300_Linux-x86-64.zip


[root@dm01db01 software]# unzip p30323660_193300_Linux-x86-64.zip

Archive:  p30323660_193300_Linux-x86-64.zip

  inflating: setup_roce_switch_passwordless.sh

  inflating: verify_roce_cables.py

  inflating: README.txt


[root@dm01db01 software]# ls -ltr

total 40

-r-xr-xr-x 1 root root  2895 Oct  1 17:38 setup_roce_switch_passwordless.sh

-rwxr-xr-x 1 root root 22637 Jan 28 07:51 verify_roce_cables.py

-rw-r–r– 1 root root   673 Jan 28 08:45 README.txt

-rw-r–r– 1 root root  8143 Feb 10 08:12 p30323660_193300_Linux-x86-64.zip


Step 3: Read the readme.html file carefully


Step 4: setup password-less ssh to RoCE switches


[root@dm01db01 software]# ./setup_roce_switch_passwordless.sh dm01sw-rocea01

enter switch ‘dm01sw-rocea01’ ‘admin’ password:

checking if ‘dm01sw-rocea01’ is reachable… [OK]

setting up SSH equivalency for ‘admin’ on ‘dm01sw-rocea01’… [OK]


[root@dm01db01 software]# ./setup_roce_switch_passwordless.sh dm01sw-roceb01

enter switch ‘dm01sw-roceb01’ ‘admin’ password:

checking if ‘dm01sw-roceb01’ is reachable… [OK]

setting up SSH equivalency for ‘admin’ on ‘dm01sw-roceb01’… [OK]


“RECOMMENDED READ: HERE’S EVERYTHING YOU NEED TO KNOW ABOUT ORACLE AUTONOMOUS DATABASE CLOUD”


Step 5: setup passwordless ssh to all compute nodes and storage cells


[root@dm01db01 software]# cd /opt/oracle.SupportTools/


[root@dm01db01 oracle.SupportTools]# ls -ltr setup_ssh_eq.sh

-r-xr-x— 1 root root 1518 Dec 11 22:53 setup_ssh_eq.sh


[root@dm01db01 oracle.SupportTools]# ./setup_ssh_eq.sh ~/all_group root welcome1


[root@dm01db01 oracle.SupportTools]# dcli -g ~/all_group -l root uptime

dm01cel01: 09:11:46 up 5 days, 21:30,  0 users,  load average: 2.44, 2.31, 2.05

dm01cel02: 09:11:46 up 5 days, 21:30,  0 users,  load average: 2.31, 1.74, 1.97

dm01cel03: 09:11:46 up 5 days, 21:30,  0 users,  load average: 2.97, 2.67, 2.60

dm01cel04: 09:11:46 up 5 days, 21:30,  0 users,  load average: 2.78, 1.95, 1.71

dm01cel05: 09:11:46 up 5 days, 21:30,  0 users,  load average: 3.83, 2.54, 2.05

dm01cel06: 09:11:46 up 5 days, 21:30,  0 users,  load average: 0.82, 1.30, 1.68

dm01cel07: 09:11:46 up 5 days, 21:30,  0 users,  load average: 1.55, 1.67, 1.71

dm01db01: 09:11:46 up 5 days, 21:37,  1 user,  load average: 0.63, 0.48, 0.39

dm01db02: 09:11:46 up 5 days, 21:36,  0 users,  load average: 0.23, 0.39, 0.34

dm01db03: 09:11:46 up 5 days, 21:36,  0 users,  load average: 0.41, 0.32, 0.34

dm01db04: 09:11:46 up 5 days, 21:36,  0 users,  load average: 0.19, 0.32, 0.29


Step 6: Create the file with compute nodes and storage cells in the formate given below


Lines in in nodes_list should be of format

adm<num>: <db1-hostname>

or

celadm<num>: <cell1-hostname>


[root@dm01db01 ~]# cat nodes_list

adm01: dm01db01

adm02: dm01db02

adm03: dm01db03

adm04: dm01db04

celadm01: dm01cel01

celadm02: dm01cel02

celadm03: dm01cel03

celadm04: dm01cel04

celadm05: dm01cel05

celadm06: dm01cel06

celadm07: dm01cel07


[root@dm01db01 ~]# cat roce_list

dm01sw-rocea01

dm01sw-roceb01eBook - Oracle Exadata X8M Patching Recipes | Netsoftmate

Step 7: Execute the RoCE Verify tool


[root@dm01db01 software]# cd /u01/app/oracle/software


[root@dm01db01 software]# ./verify_roce_cables.py -n ~/nodes_list -s ~/roce_list

Enter dm01sw-rocea01 admin password

User Access Verification

Enter dm01sw-roceb01 admin password

User Access Verification

Enter dm01sw-rocea01 admin password

User Access Verification

Enter dm01sw-roceb01 admin password

User Access Verification

SWITCH PORT (EXPECTED PEER)                      LEAF-1 (dm01sw-rocea01) : CABLE OK?                    LEAF-2 (dm01sw-roceb01) : CABLE OK?

———– —————             ——————————– : ——–            ——————————– : ———

    Eth1/4 (ISL peer switch)   :               dm01sw-roceb01 Ethernet1/4 : OK                       dm01sw-rocea01 Ethernet1/4 : OK

    Eth1/5 (ISL peer switch)   :               dm01sw-roceb01 Ethernet1/5 : OK                         dm01sw-rocea01 Ethernet1/5 : OK

    Eth1/6 (ISL peer switch)   :               dm01sw-roceb01 Ethernet1/6 : OK                         dm01sw-rocea01 Ethernet1/6 : OK

    Eth1/7 (ISL peer switch)   :               dm01sw-roceb01 Ethernet1/7 : OK                         dm01sw-rocea01 Ethernet1/7 : OK

    Eth1/8 ()                  :                                       – : –                                                  – : –

    Eth1/9 ()                  :                                       – : –                                                  – : –

   Eth1/10 ()                  :                                       – : –                                                  – : –

   Eth1/11 ()                  :                                       – : –                                                  – : –

   Eth1/12 ()                  :                                       – : –                                                  – : –

   Eth1/13 ()                  :                                       – : –                                                  – : –

   Eth1/14 ()                  :                                       – : –                                                  – : –

   Eth1/15 ()                  :                                       – : –                                                  – : –

   Eth1/16 ()                  :                                       – : –                                                  – : –

   Eth1/17 ()                  :                                       – : –                                                  – : –

   Eth1/18 ()                  :                                       – : –                                                  – : –

   Eth1/19 (adm04)             :                         dm01db04 port-1 : OK                                   dm01db04 port-2 : OK

   Eth1/20 (adm03)             :                         dm01db03 port-1 : OK                                   dm01db03 port-2 : OK

   Eth1/21 (adm02)             :                         dm01db02 port-1 : OK                                   dm01db02 port-2 : OK

   Eth1/22 (adm01)             :                         dm01db01 port-1 : OK                                   dm01db01 port-2 : OK

   Eth1/23 (celadm07)          :                        dm01cel07 port-1 : OK                                  dm01cel07 port-2 : OK

   Eth1/24 (celadm06)          :                        dm01cel06 port-1 : OK                                  dm01cel06 port-2 : OK

   Eth1/25 (celadm05)          :                        dm01cel05 port-1 : OK                                  dm01cel05 port-2 : OK

   Eth1/26 (celadm04)          :                        dm01cel04 port-1 : OK                                  dm01cel04 port-2 : OK

   Eth1/27 (celadm03)          :                        dm01cel03 port-1 : OK                                  dm01cel03 port-2 : OK

   Eth1/28 (celadm02)          :                        dm01cel02 port-1 : OK                                  dm01cel02 port-2 : OK

   Eth1/29 (celadm01)          :                        dm01cel01 port-1 : OK                                  dm01cel01 port-2 : OK

   Eth1/30 (ISL peer switch)   :             dm01sw-roceb01 Ethernet1/30 : OK                         dm01sw-rocea01 Ethernet1/30 : OK

   Eth1/31 (ISL peer switch)   :              dm01sw-roceb01 Ethernet1/31 : OK                        dm01sw-rocea01 Ethernet1/31 : OK

   Eth1/32 (ISL peer switch)   :              dm01sw-roceb01 Ethernet1/32 : OK                        dm01sw-rocea01 Ethernet1/32 : OK

   Eth1/33 (ISL peer switch)   :              dm01sw-roceb01 Ethernet1/33 : OK                        dm01sw-rocea01 Ethernet1/33 : OK


From the above output we can see the cabling is OK  which means it is good. There are no errors/failure reported for cabling.


The following states are applicable for “CABLE OK”


OK : Cabling looks good

SWAPPED : Cables have been crossed on same host

FAIL : Cabling check failed due to cabling error, discovery issues, etc.

 – : If any of the table entry has a ‘-‘, it can be treated as a don’t care or not applicable


Conclusion


In this article we have learned how to verify the cabling for Transport Layer systems based on a RDMA over Converged Ethernet (RoCE) Network Layer network on Exadata Database Machine X8M-2/X8M-8 and later hardware.


Have more queries related Exadata Database Machines?  Get in touch with Netsoftmate’s Oracle Engineered Systems experts to get the best solution on how to implement and maintain your Oracle Exadata Database Machines. Sign-up for a 30 mins free consultation by clicking the image below –


Expert Support for Oracle Exadata | Netsoftmate
0

Database Management Services, Oracle Database Management Solution, Oracle Exadata

Netsoftmate experts are back again with another interesting article which will help you setup and restore compute node from snapshot backup of Oracle Exadata. In our previous blog we have demonstrated a step-by-step process of how to take a snapshot based back-up of compute node to NFS share.

If you haven’t yet read the previous article, here’s the link for reference – 

Step-by-step guide of exadata sanpshot based backup of compute node to nfs share

In this article, we will be focussing on how to setup and restore the compute node from the snapshot backup on a live Oracle Exadata Database Machine. 


Introduction


You have Oracle Exadata compute snapshot backup, but you don’t know the procedure to restore the compute node. How would you restore your compute node?

Snapshot backup is very helpful in case of OS failure or any other failure that causes Compute node failure. With the snapshot backup you can restore the compute node with few simple steps without having to go through the complex Oracle Exadata BareMetal restore.


Environment Details


Exadata Model

X5-2 Full Rack

Exadata Components

8 – Compute nodes, 14 – Storage cells & 2 – IB switches

Exadata Storage cells

DBM01CEL01 – DBM01CEL14

Exadata Compute nodes

DBM01DB01 – DBM01DB08

Exadata Software Version

12.1.2.3

Exadata DB Version

11.2.0.4.180717


Prerequisites


  • – Root user access on Compute nodes
  • – Snapshot backup taken before the failure
  • – NFS mount storing the snapshot backup
  •  

Note: We can’t use Infiniband interface to mount the NFS file system. Only Management interface can be used to mount the NFS file system.


Step 1  


Copy snapshot backup to the NFS mount mounted using management interface.

In this example: I have mounted the NFS share using the following directory


/nfssa/dm01/os_snapshot


[root@dm01db07 os_snapshot]# cd /nfssa/dm01/os_snapshot


[root@dm01db07 os_snapshot]# ls -lrt|grep Rt_U01

-rw-r–r– 1 4294967294 4294967294 24268161485 Jun 17 04:36 Rt_U01_20190617_dm01db07_bkp.tar.bz2


Step 2

Copy diag.iso from MOS or from another goo compute node to the NFS mount.


[root@dm01db07 os_snapshot]# cd /nfssa/dm01/os_snapshot


 [root@dm01db07 os_snapshot]# ls -lrt|grep diag.iso

-r–r—– 1 4294967294 4294967294    78139392 Jul 12  2019 diag.iso


Step 3:


During the restore process you will be prompted to provide the following details. Make a note of these inputs before proceeding to the next step


i. The full path of the backup 

10.10.2.21:/export/dm01/os_snapshot/ Rt_U01_20190617_dm01db07_bkp.tar.bz2

ii. Host IP:  10.2.15

  • iii. Netmask: 255.255.192
  •  
  • iii. Gateway: 10.2.100


Step 4


Login to the serial ILOM server of the node in question, load the diag.iso image and reboot the server as follows:


a) Log in to the Oracle ILOM CLI


[root@dm01db06 ~]# ssh dm01db06-ilom

Password:

Oracle(R) Integrated Lights Out Manager

Version 3.2.8.24 r114580

Copyright (c) 2016, Oracle and/or its affiliates. All rights reserved.

Warning: HTTPS certificate is set to factory default.

Hostname: dm01db06-ilom


b) Run the following command on CLI to mount ISO from NFS server


-> cd /SP/services/kvms/host_storage_device/remote/

/SP/services/kvms/host_storage_device/remote


-> set server_URI=nfs://10.10.2.21:/export/dm01/os_snapshot/diag.iso

Set ‘server_URI’ to ‘nfs://10.10.2.21:/export/dm01/os_snapshot/diag.iso’


-> show server_URI

  /SP/services/kvms/host_storage_device/remote

    Properties:

        server_URI = nfs://10.10.2.21:/export/dm01/os_snapshot/diag.iso


c) Enable storage redirection by typing:


-> set /SP/services/kvms/host_storage_device/ mode=remote

Set ‘mode’ to ‘remote’


To view the status of redirection, type the command:


-> show /SP/services/kvms/host_storage_device/ status

  /SP/services/kvms/host_storage_device

    Properties:

        status = operational


Note – Redirection is active if the status is set to either Operational or Connecting.


d) Set the next boot device to cdrom


-> set /HOST boot_device=cdrom

Set ‘boot_device’ to ‘cdrom’


To ensure next boot device, check


-> show /HOST


 /HOST

    Targets:

        console

        diag

        provisioning


    Properties:

        boot_device = cdrom

        generate_host_nmi = (Cannot show property)


    Commands:

        cd

        set

        show


e) Reboot Server


-> reset /SYS

Are you sure you want to reset /SYS (y/n)? y

Performing hard reset on /SYS


Step 5


Start the serial console using the command below:


-> start /SP/console
Are you sure you want to start /SP/console (y/n)? y


Serial console started. To stop, type ESC (


Note: optionally you can also start the Remote direction using Web ILOM.


Wait for the server to boot from the diag.iso

On both the Remote Console window and the putty/SSH session window you will see the server going through  BIOS POST, then the kernel boot messages.

At the end of the boot up sequence, there should be the menu prompt such as the one below.:

  • – Input (r) for restore
  • – ‘y’ to continue
  • – Rescue password: sos1Exadata


Next prompt would be for path of backup file provide as follows from Step 3:

10.10.2.21:/export/dm01/os_snapshot/ Rt_U01_20190617_dm01db07_bkp.tar.bz2

Restore Compute node from Snapshot Backup


Next prompt for LVM schema say (y). Type y and hit return

Restore Compute node from Snapshot Backup


Next prompt input interface, IP address of host and gateway taken from Step 3

Restore Compute node from Snapshot Backup


At the end of this step, the server would enter recovery phase which may take about 3 hours.

Restore Compute node from Snapshot Backup


Step 6:


When the recovery completes, the login screen appears. Verify the file system.

Restore Compute node from Snapshot Backup

This concludes a successful recovery


Step 7:


Disable cd redirection


-> set /SP/services/kvms/host_storage_device/ mode=disabled

Set ‘mode’ to ‘disabled’


-> show /SP/services/kvms/host_storage_device/ mode


  /SP/services/kvms/host_storage_device

    Properties:

        mode = disabled


-> set /SP/services/kvms/host_storage_device/remote server_URI=”

Set ‘server_URI’ to ”


-> show /SP/services/kvms/host_storage_device/remote server_URI


  /SP/services/kvms/host_storage_device/remote

    Properties:

        server_URI = (none)


-> show /HOST


/HOST

    Targets:

        console

        diag

        provisioning


    Properties:

        boot_device = default

        generate_host_nmi = (Cannot show property)


    Commands:

        cd

        set

        show


Reboot server to use default BIO image


-> reset /SYS

Are you sure you want to reset /SYS (y/n)? y

Performing hard reset on /SYS


Step 8:


Verify server


[root@dm01db07 ~]# imageinfo 
Kernel version: 2.6.39-400.294.1.el6uek.x86_64 #1 SMP Wed Jan 11 08:46:38 PST 2017 x86_64 
Image kernel version: 2.6.39-400.294.1.el6uek 
Image version: 12.1.2.3.4.170111 
Image activated: 2017-09-19 13:23:57 -0500 
Image status: success
System partition on device: /dev/mapper/VGExaDb-LVDbSys1 

If the image status post restore shows failure then perform the following addition steps to make it success.


Image status: failure


  • # /usr/sbin/ubiosconfig export all -x /tmp/bios_current.xml –expert_mode -y
  • If it still fails, then try reset the SP and try above the command again.
  • If the command ran successful without error, then reboot the system.
  • After system comes back up, wait for approximately 10min, and check and confirm that the output of imageinfo command is “Image status: success”


Conclusion:

In this article we have learned how to restore an Exadata Compute node from Exadata Compute node snapshot backup


0

Another Exadata Storage Software 18c update released!! Oracle Released Exadata Storage Software version 18.1.1.0.0 on October 26th 2017. Earlier release was ESS version 18.1.0.0.0 on October 2nd 2017. – Patch (26875767) for Storage server software and Infiniband Switch software For more details review the MOS “Exadata 18.1.1.0.0 release and patch (26875767) (Doc ID 2311786.1)” ESS version 18.1.1.0.0 supports the following Oracle Database software releases: – 12.2.0.1.0 – 12.1.0.2.0 – 12.1.0.1.0 – 11.2.0.4.0 – 11.2.0.3.0 Exadata 18.1.1.0.0 Software and Image files for upgrade are: – Patch 26875767 – Storage server software (18.1.1.0.0.171018) and InfiniBand switch software (2.2.7-1) – Patch 26923500 – Database server bare metal / domU ULN exadata_dbserver_18.1.1.0.0_x86_64_base OL6 channel ISO image (18.1.1.0.0.171018) – Patch 26923501 – Database server dom0 ULN exadata_dbserver_dom0_18.1.1.0.0_x86_64_base OVM channel ISO image (18.1.1.0.0.171018)
0