Database Management Services, Oracle Database Management Solution, Oracle Exadata
How to Restore Compute node from Snapshot Backup for Oracle Exadata
Netsoftmate experts are back again with another interesting article which will help you setup and restore compute node from snapshot backup of Oracle Exadata. In our previous blog we have demonstrated a step-by-step process of how to take a snapshot based back-up of compute node to NFS share.
If you haven’t yet read the previous article, here’s the link for reference –
Step-by-step guide of exadata sanpshot based backup of compute node to nfs share
In this article, we will be focussing on how to setup and restore the compute node from the snapshot backup on a live Oracle Exadata Database Machine.
Introduction
You have Oracle Exadata compute snapshot backup, but you don’t know the procedure to restore the compute node. How would you restore your compute node?
Snapshot backup is very helpful in case of OS failure or any other failure that causes Compute node failure. With the snapshot backup you can restore the compute node with few simple steps without having to go through the complex Oracle Exadata BareMetal restore.
Environment Details
Exadata Model | X5-2 Full Rack |
Exadata Components | 8 – Compute nodes, 14 – Storage cells & 2 – IB switches |
Exadata Storage cells | DBM01CEL01 – DBM01CEL14 |
Exadata Compute nodes | DBM01DB01 – DBM01DB08 |
Exadata Software Version | 12.1.2.3 |
Exadata DB Version | 11.2.0.4.180717 |
Prerequisites
- – Root user access on Compute nodes
- – Snapshot backup taken before the failure
- – NFS mount storing the snapshot backup
Note: We can’t use Infiniband interface to mount the NFS file system. Only Management interface can be used to mount the NFS file system.
Step 1
Copy snapshot backup to the NFS mount mounted using management interface.
In this example: I have mounted the NFS share using the following directory
/nfssa/dm01/os_snapshot
[root@dm01db07 os_snapshot]# cd /nfssa/dm01/os_snapshot
[root@dm01db07 os_snapshot]# ls -lrt|grep Rt_U01
-rw-r–r– 1 4294967294 4294967294 24268161485 Jun 17 04:36 Rt_U01_20190617_dm01db07_bkp.tar.bz2
Step 2
Copy diag.iso from MOS or from another goo compute node to the NFS mount.
[root@dm01db07 os_snapshot]# cd /nfssa/dm01/os_snapshot
[root@dm01db07 os_snapshot]# ls -lrt|grep diag.iso
-r–r—– 1 4294967294 4294967294 78139392 Jul 12 2019 diag.iso
Step 3:
During the restore process you will be prompted to provide the following details. Make a note of these inputs before proceeding to the next step
i. The full path of the backup
10.10.2.21:/export/dm01/os_snapshot/ Rt_U01_20190617_dm01db07_bkp.tar.bz2
ii. Host IP: 10.2.15- iii. Netmask: 255.255.192
- iii. Gateway: 10.2.100
Step 4
Login to the serial ILOM server of the node in question, load the diag.iso image and reboot the server as follows:
a) Log in to the Oracle ILOM CLI
[root@dm01db06 ~]# ssh dm01db06-ilom
Password:
Oracle(R) Integrated Lights Out Manager
Version 3.2.8.24 r114580
Copyright (c) 2016, Oracle and/or its affiliates. All rights reserved.
Warning: HTTPS certificate is set to factory default.
Hostname: dm01db06-ilom
b) Run the following command on CLI to mount ISO from NFS server
-> cd /SP/services/kvms/host_storage_device/remote/
/SP/services/kvms/host_storage_device/remote
-> set server_URI=nfs://10.10.2.21:/export/dm01/os_snapshot/diag.iso
Set ‘server_URI’ to ‘nfs://10.10.2.21:/export/dm01/os_snapshot/diag.iso’
-> show server_URI
/SP/services/kvms/host_storage_device/remote
Properties:
server_URI = nfs://10.10.2.21:/export/dm01/os_snapshot/diag.iso
c) Enable storage redirection by typing:
-> set /SP/services/kvms/host_storage_device/ mode=remote
Set ‘mode’ to ‘remote’
To view the status of redirection, type the command:
-> show /SP/services/kvms/host_storage_device/ status
/SP/services/kvms/host_storage_device
Properties:
status = operational
Note – Redirection is active if the status is set to either Operational or Connecting.
d) Set the next boot device to cdrom
-> set /HOST boot_device=cdrom
Set ‘boot_device’ to ‘cdrom’
To ensure next boot device, check
-> show /HOST
/HOST
Targets:
console
diag
provisioning
Properties:
boot_device = cdrom
generate_host_nmi = (Cannot show property)
Commands:
cd
set
show
e) Reboot Server
-> reset /SYS
Are you sure you want to reset /SYS (y/n)? y
Performing hard reset on /SYS
Step 5
Start the serial console using the command below:
-> start /SP/console
Are you sure you want to start /SP/console (y/n)? y
Serial console started. To stop, type ESC (
Note: optionally you can also start the Remote direction using Web ILOM.
Wait for the server to boot from the diag.iso
On both the Remote Console window and the putty/SSH session window you will see the server going through BIOS POST, then the kernel boot messages.
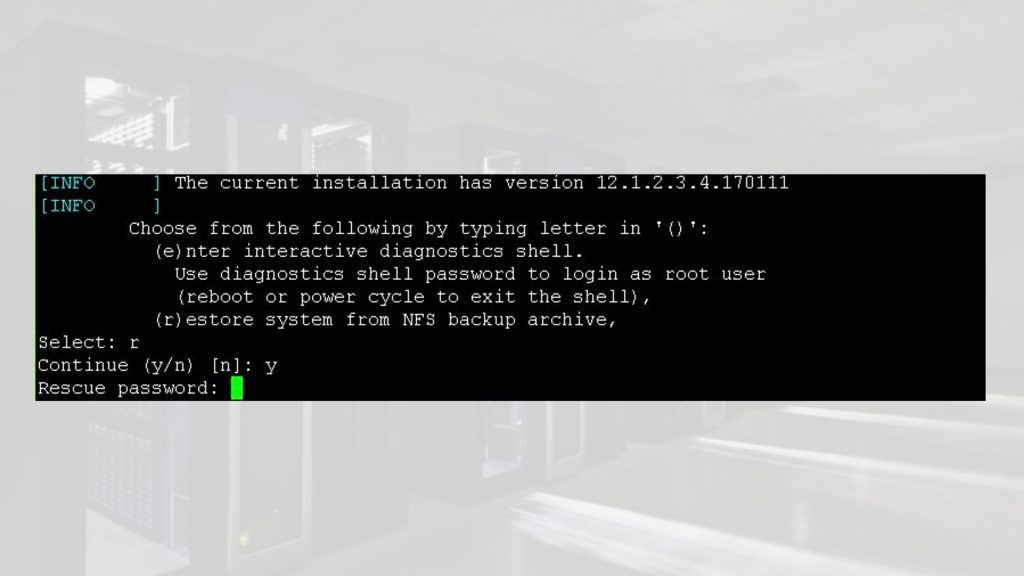
At the end of the boot up sequence, there should be the menu prompt such as the one below.:
- – Input (r) for restore
- – ‘y’ to continue
- – Rescue password: sos1Exadata
Next prompt would be for path of backup file provide as follows from Step 3:
10.10.2.21:/export/dm01/os_snapshot/ Rt_U01_20190617_dm01db07_bkp.tar.bz2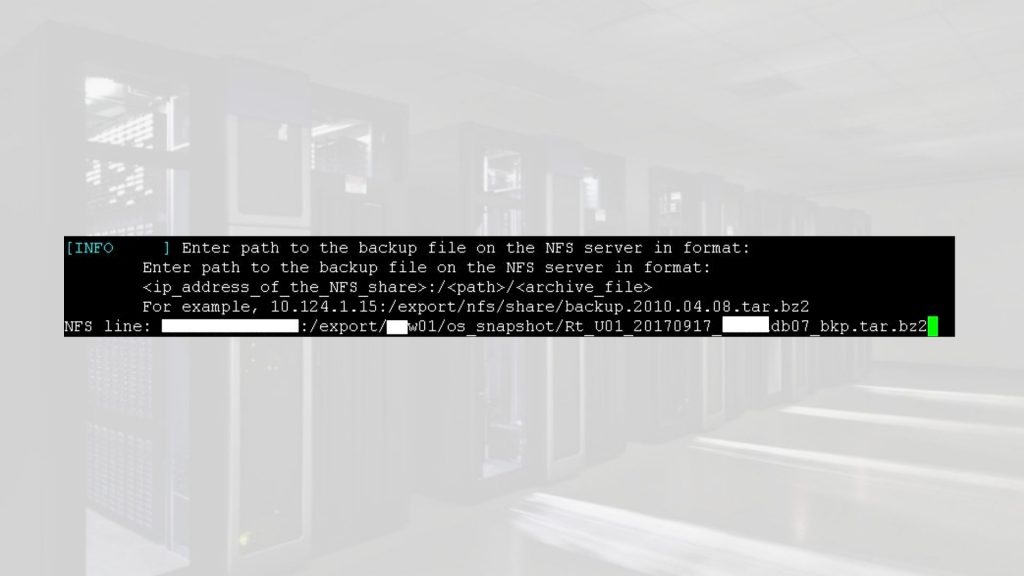
Next prompt for LVM schema say (y). Type y and hit return
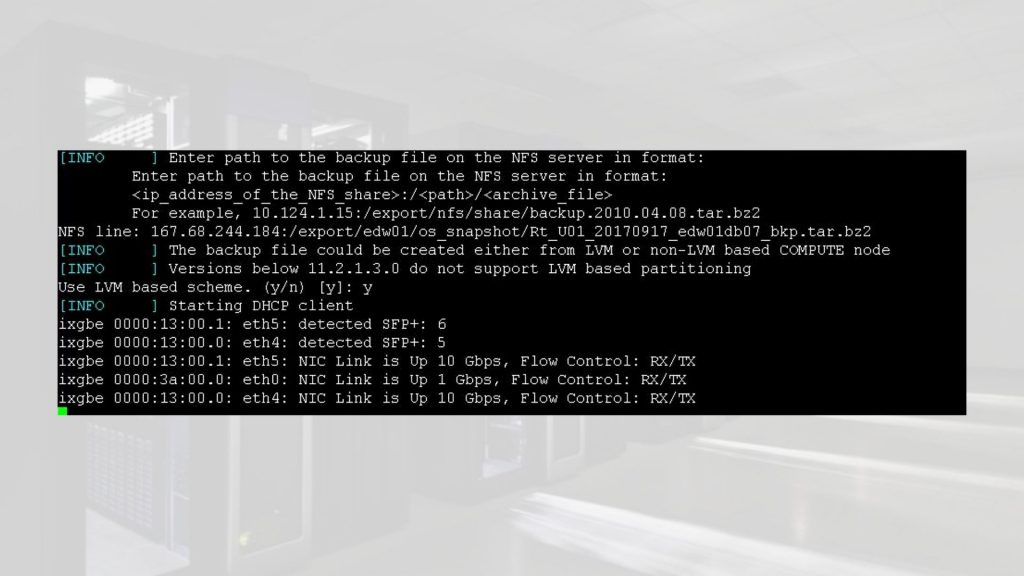
Next prompt input interface, IP address of host and gateway taken from Step 3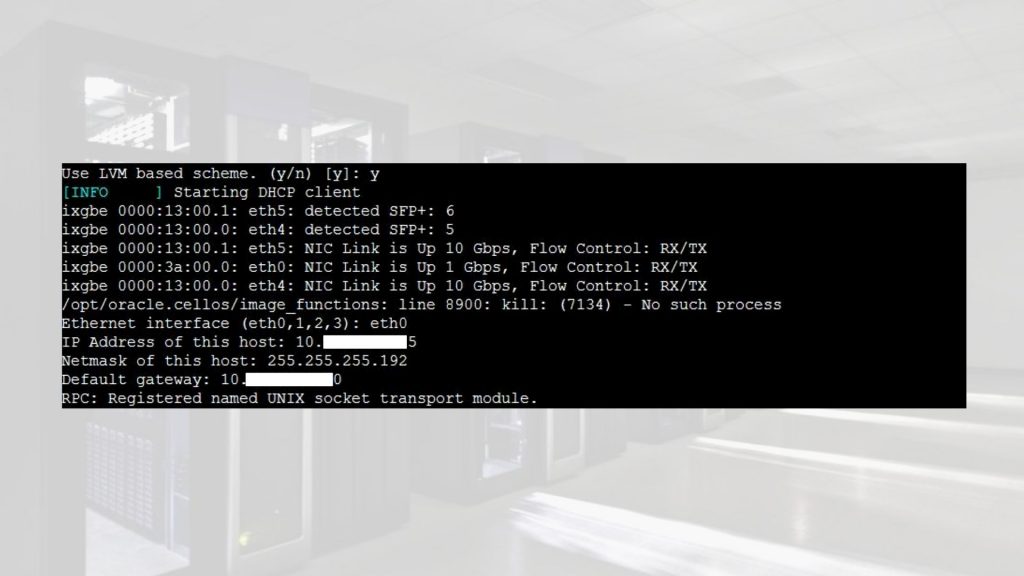
At the end of this step, the server would enter recovery phase which may take about 3 hours.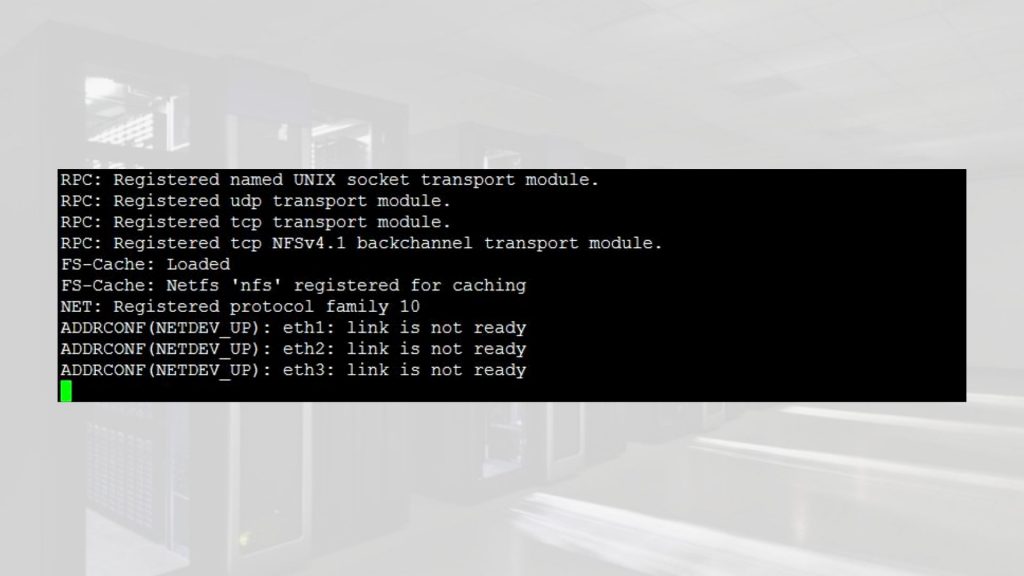
Step 6:
When the recovery completes, the login screen appears. Verify the file system.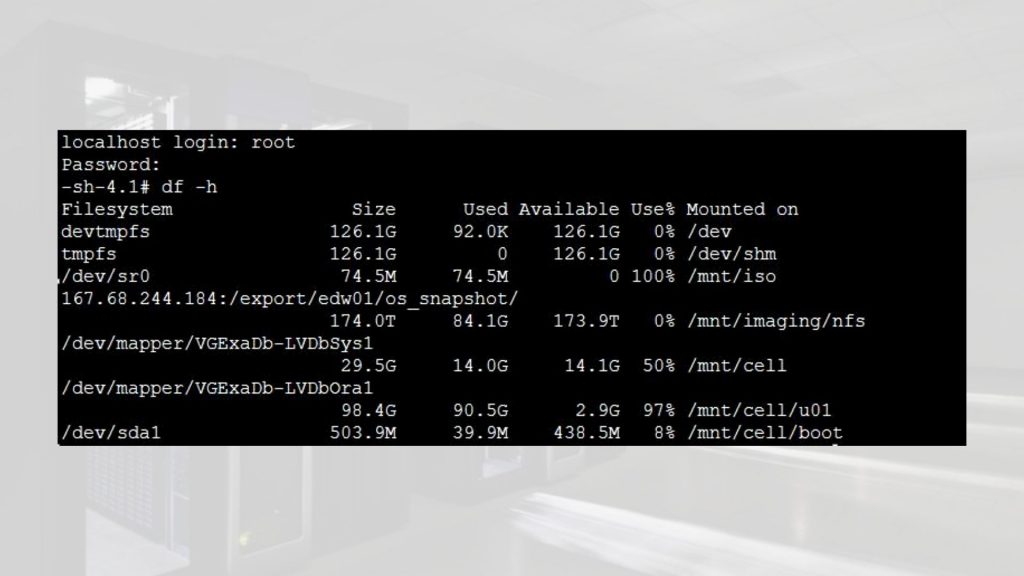
This concludes a successful recovery
Step 7:
Disable cd redirection
-> set /SP/services/kvms/host_storage_device/ mode=disabled
Set ‘mode’ to ‘disabled’
-> show /SP/services/kvms/host_storage_device/ mode
/SP/services/kvms/host_storage_device
Properties:
mode = disabled
-> set /SP/services/kvms/host_storage_device/remote server_URI=”
Set ‘server_URI’ to ”
-> show /SP/services/kvms/host_storage_device/remote server_URI
/SP/services/kvms/host_storage_device/remote
Properties:
server_URI = (none)
-> show /HOST
/HOST
Targets:
console
diag
provisioning
Properties:
boot_device = default
generate_host_nmi = (Cannot show property)
Commands:
cd
set
show
Reboot server to use default BIO image
-> reset /SYS
Are you sure you want to reset /SYS (y/n)? y
Performing hard reset on /SYS
Step 8:
Verify server
[root@dm01db07 ~]# imageinfo
Kernel version: 2.6.39-400.294.1.el6uek.x86_64 #1 SMP Wed Jan 11 08:46:38 PST 2017 x86_64
Image kernel version: 2.6.39-400.294.1.el6uek
Image version: 12.1.2.3.4.170111
Image activated: 2017-09-19 13:23:57 -0500
Image status: success
System partition on device: /dev/mapper/VGExaDb-LVDbSys1
If the image status post restore shows failure then perform the following addition steps to make it success.
Image status: failure
- # /usr/sbin/ubiosconfig export all -x /tmp/bios_current.xml –expert_mode -y
- If it still fails, then try reset the SP and try above the command again.
- If the command ran successful without error, then reboot the system.
- After system comes back up, wait for approximately 10min, and check and confirm that the output of imageinfo command is “Image status: success”
Conclusion:
In this article we have learned how to restore an Exadata Compute node from Exadata Compute node snapshot backup